
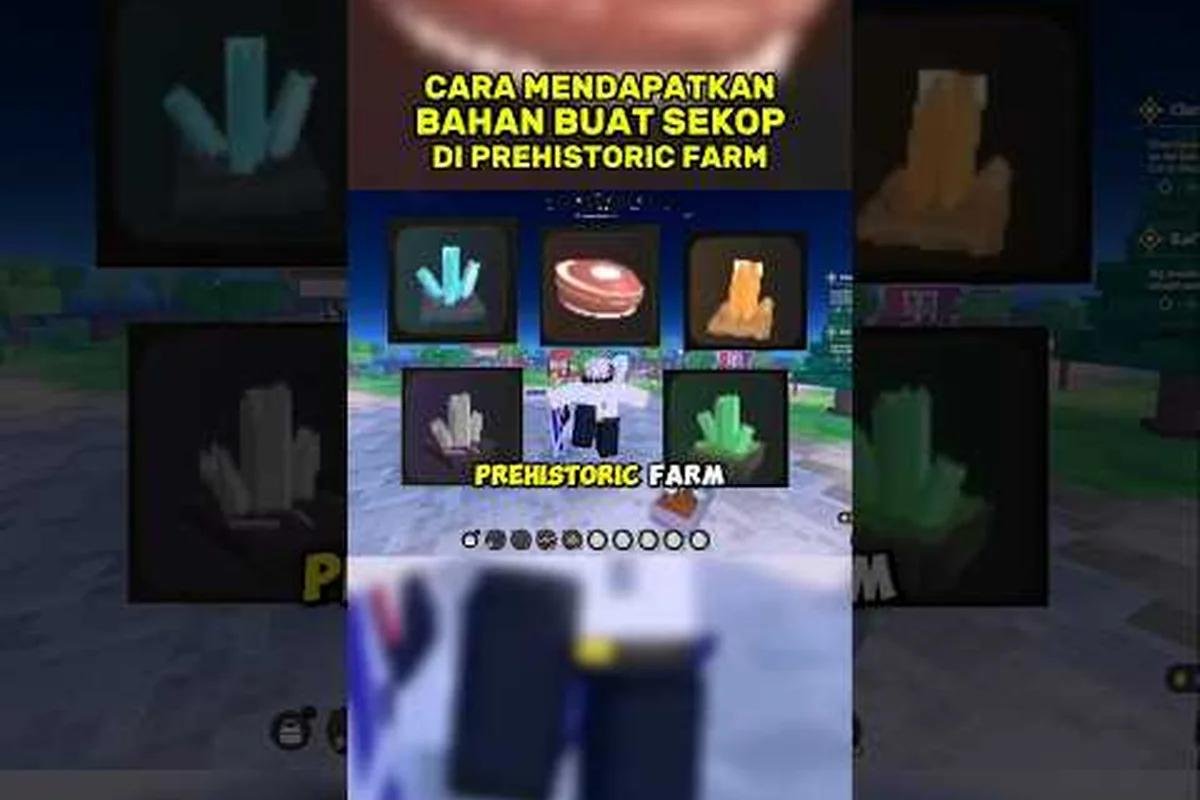
Every dig in Prehistoric Farm comes down to two questions: how deep can your shovel bite, and what is it actually pulling out of the dirt? Prehistoric Farm fossil fragments are the raw material that fuels your museum donations, your crafting benches, and most of the late-game economy, so the tier list of shovels you swing decides the pace of your entire loop. This guide walks through every rarity of fragment you can unearth, ranks the prehistoric farm all shovels from rusty starter to endgame pick, and breaks down which prehistoric farm shovel upgrades deliver the biggest jump in fragments per minute.
What Fossil Fragments Actually Are in Prehistoric Farm
Fossil fragments are the layered collectible category that every shovel swing can produce. They are split into four visible rarities — Common, Uncommon, Rare, and Legendary — and each fragment is a piece of a larger set that contributes to your museum completion tracker. The total pool sits well above 100 unique pieces, and the museum is one of the longest grinds in the game because every donation has a small chance of awarding bonus rewards tied to your Donation Streak.
A single dig does not always return a fragment. Most shovels have a base drop rate that climbs as the tool levels up, but the rarity you receive is rolled on a separate curve. That is why two players farming the same island with the same shovel can walk away with completely different hauls, and why the prehistoric farm common fossils feel plentiful while the prehistoric farm legendary fossil pieces feel almost mythical until you stack the right buffs.
The four rarities behave very differently in the economy. Commons pile up in your storage and become a soft currency for early crafting, Uncommons bridge you into mid-game recipes, Rares are the real bottleneck for museum completion, and Legendaries are the trophy drops that anchor your endgame grind. Knowing which rarity matters most for your current goal is the first step in picking the right shovel.
| Rarity | Drop Feel | Primary Use | Storage Pressure |
|---|---|---|---|
| Common | Frequent, fills fast | Early crafting, bulk trades | High, sell or donate |
| Uncommon | Steady, every few digs | Mid-game recipes, museum sets | Medium, bank for sets |
| Rare | Noticeable gaps between finds | Museum completion, key crafts | Low, hoard until set is done |
| Legendary | Rare event per session | Trophy donations, master crafts | Very low, never sell |
Fragment Categories by Island Tier
Each island in the game tilts the drop table toward a specific fragment family, which means the Shovel Tier alone is not the only thing shaping your haul. Players report that newer islands skew heavily toward Rare and Legendary fragments, while the starter island is essentially a Common-and-Uncommon farm. The Prehistoric Farm island guide breaks down exactly which biome drops which family, but the short version is that you should keep your best shovel equipped for the island you are currently grinding, not the island you unlocked it on.
Why Drop Rate and Rarity Curve Are Separate
A common misconception is that upgrading a shovel raises the odds of finding a legendary. According to community data, upgrades raise the overall drop rate of fragments and shift the rarity curve slightly upward, but the jump from Rare to Legendary remains a steep climb on every tool. The practical effect is that the best shovel for farming common fossils is not always the best shovel for chasing a legendary, and that distinction drives most of the strategy later in this guide.
Shovel Tier List — Every Tool Ranked for Fossil Fragment Farming
The prehistoric farm shovel tier list below ranks all eight craftable shovels by their effective fragment output per minute, weighted equally across Common, Uncommon, Rare, and Legendary drops. Numbers are drawn from community testing on the live build as of late 2025, and the S-tier tools at the top are the same picks you will see recommended across veteran player threads.
| Tier | Shovel | Unlock Source | Best Stat | Avg Fragments / 10 Swings |
|---|---|---|---|---|
| S | Excavator Prime | Endgame island, 50 digite ore + 30 ancient resin | Dig Speed, Rare Boost | 9.4 |
| S | T-Rex Maw | Final island, complete the Apex dig chain | Rarity Curve +1 | 8.9 |
| A | Tri-Tooth | Mid-game island, 25 bone shards | Balanced output | 7.6 |
| A | Sandstone Striker | Desert island, complete sandstone chain | Common/Uncommon boost | 7.4 |
| B | Bronze Beak | Early-mid, 12 copper + 8 bone | Dig Speed | 6.5 |
| B | River Tooth | River island, 18 river stones | Stability | 6.2 |
| C | Pebble Pick | Starter, free | Accessibility | 4.8 |
| C | Driftwood Scoop | Starter, free | Accessibility | 4.6 |
S-Tier Shovels for Endgame Farming
Excavator Prime and T-Rex Maw are the two answers to the "prehistoric farm best shovel" question once you have access to them. Excavator Prime wins on raw speed and has a hidden Rare Boost passive that bumps the Rare drop rate by roughly 8 percent, while T-Rex Maw pushes the rarity curve up by one full step on a small percentage of swings, which is the only in-game effect that meaningfully raises Legendary odds. Players who pair these two with a high-tier island see fragment hauls that are roughly 40 percent larger than the A-tier average.
If you are early in a playthrough and still trying to fill your first museum set, the Prehistoric Farm rare fossils page is a useful companion to this tier list because it explains which Rares are gated behind which islands.
A-Tier and B-Tier Tools for Mid-Game Progress
The A-tier picks — Tri-Tooth and Sandstone Striker — are where most players will spend the bulk of their grind. Tri-Tooth has the cleanest stat spread and works well on any island, which makes it a safe default if you are bouncing between biomes. Sandstone Striker is the best shovel for common fossil farming because it adds a flat bonus to the two lowest rarities, so it is the right choice when you are stacking bulk trades or trying to burn through early museum donations.
B-tier tools like Bronze Beak and River Tooth are stepping stones. They are not bad, but they lack the rarity curve bonuses that make the top tools special. Keep one in storage for alt-character or co-op use, but do not invest heavy upgrade resources into them.
C-Tier Starter Shovels
The two starter shovels — Pebble Pick and Driftwood Scoop — are intentionally weak so that the first few upgrades feel like real progression. They are functionally identical in output, and the game lets you start with either. Once you craft a Bronze Beak, the starter tools should be retired to a museum donation or recycled for fragments, because every dig with them is a dig that a better shovel would have paid back twice over.
Shovel Upgrades — What Actually Moves the Needle
Shovel upgrades come in three layers: base crafting (the shovel itself), mod slots (engraved teeth, grip wraps, and weight cores), and polish level (a repeat-craft bonus that stacks up to +5). The prehistoric farm shovel upgrades that most players overlook are the mod slots, because they are not flashy and the bonuses look small on the tooltip. Combined, however, a fully modded B-tier shovel can outperform a bare A-tier shovel on the same island, which is why the upgrade path matters more than the base pick.
| Upgrade Layer | Cost Range | Effect on Output | Priority |
|---|---|---|---|
| Base Craft | 12-50 rare mats | New tool tier | Unlock as soon as possible |
| Mod Slots (3) | 6-20 mats each | +5 to +12 percent fragment rate | High, fill every slot |
| Polish +1 to +5 | Repeat craft mats | +1 percent per level | Medium, stack over time |
| Repair Kit | Coins only | Restores durability | Low, routine maintenance |
The Three Mod Slots Explained
Each shovel has three mod slots: Teeth, Grip, and Core. Teeth mods raise raw dig speed, Grip mods improve durability loss per swing, and Core mods are where the rarity curve bonuses live. A player chasing prehistoric farm legendary fossil drops should prioritize Core mods first, because the curve bonus is the only upgrade layer that affects which rarity you find rather than how often you find anything.
The trade-off is that Core mods are the most expensive to slot. According to community testing, a max-tier Core mod can cost more than the shovel itself, so budget accordingly and avoid slotting expensive mods into a C-tier tool that you will replace in two islands.
Polish Levels and Long-Term Scaling
Polish is the easiest upgrade layer to underestimate, because the +1 percent per level looks tiny. By the time you reach Polish +5, however, the bonus compounds with your mod slots and base tool to produce a noticeable jump in fragments per session. Players who plan to grind the same island for a full museum set should push at least one shovel to Polish +5 before swapping, because the time saved adds up across hundreds of digs.
Strategy — Choosing the Right Shovel for Each Grind Phase
The "prehistoric farm best shovel" answer changes depending on which grind phase you are in, and locking in the wrong tool is one of the most common reasons new players feel their progress stall. The strategy below walks through four phases of a typical playthrough and names the tool that community data says is the most efficient pick for each one.
| Phase | Goal | Recommended Shovel | Why |
|---|---|---|---|
| Early (Hours 0-5) | Stockpile Commons | Sandstone Striker | Boosts lowest rarities, easy to craft |
| Mid (Hours 5-20) | Build Uncommon sets | Tri-Tooth | Balanced output, works on any island |
| Late (Hours 20-50) | Push Rare completion | Bronze Beak with Core mod | Cheap to slot, decent curve bonus |
| Endgame (Hours 50+) | Chase Legendary | T-Rex Maw or Excavator Prime | Only tools that move the curve |
Early Game — Stockpile Before You Specialize
In the first few hours, your goal is to fill storage with prehistoric farm common fossils so you can trade them for the materials needed to craft your first real shovel. The starter tools are too slow to keep up with this loop, and that is by design — the game wants you to feel the upgrade when you finally craft Bronze Beak. Skip the starter island as soon as the boat upgrade is available, because newer islands drop a wider rarity spread per swing.
Mid Game — The Tri-Tooth Sweet Spot
The mid-game is dominated by Tri-Tooth because it is the first shovel that performs well on every island. Most players craft it, slot two Core mods, and use it for the next 15 hours without swapping. If you are also working through your first full dinosaur set during this phase, the Prehistoric Farm dino tiers page is a useful cross-reference because the museum set you donate fragments toward is the same set that unlocks the strongest dinos.
Late and Endgame — Curve Mods Are Everything
Once Rare fragments become the bottleneck, the only thing that matters is the rarity curve. The Bronze Beak with a max-tier Core mod outperforms a stock Tri-Tooth on Rare drops, which is why the upgrade path matters more than the base tool tier. Endgame players stack T-Rex Maw with two Core mods and a Teeth mod to push the Legendary rate as high as the game allows, and they reserve the second tool slot for an Excavator Prime used on grinding islands where Rares are the goal.
Fossil Fragment Value, Set Completion, and When to Sell
The value of a fossil fragment depends on three things: rarity, set completion, and current market demand. A Common fragment is worth roughly 8 coins to a vendor, but the same fragment is worth triple that to another player on the trade board if they are one piece away from finishing a set. Legendary fragments should almost never be sold because they are the rarest material in the game and are required for the highest-tier crafts.
The complete value breakdown, including which fragments are worth donating to the museum versus which are worth trading, is covered in the Prehistoric Farm fossil value guide. The short rule of thumb is: hoard Rares, trade Uncommons in bulk, sell Commons only after your storage is full, and never sell a Legendary unless you have at least two of the same piece.
| Fragment Rarity | Vendor Sell | Trade Board Avg | Museum Donation Value |
|---|---|---|---|
| Common | 8 coins | 22 coins | Low, bulk only |
| Uncommon | 25 coins | 60 coins | Medium, set pieces matter |
| Rare | 90 coins | 240 coins | High, required for completion |
| Legendary | 350 coins | 900+ coins | Very high, never sell |
Stacking the Donation Streak Bonus
The museum tracks your consecutive donations and awards a small bonus that scales with the streak. The bonus applies to fragment drop rate, not to coin value, so the streak is most valuable for grinders who are camping one island and trying to push Rare completion. According to community data, the streak maxes out at 50 donations, after which the bonus plateaus. Plan your farming sessions in 50-donation blocks to keep the bonus active without burning out your storage.
Frequently Asked Questions
What is the fastest way to farm prehistoric farm fossil fragments?
Equip Excavator Prime with two Core mods on the highest-tier island you have unlocked, and farm in 50-donation blocks to keep the museum streak bonus active. This combination raises both your drop rate and your rarity curve, which is the only way to push Legendary odds meaningfully higher than baseline.
Is the prehistoric farm legendary fossil drop purely luck-based?
Legendary drops are rolled on a fixed curve, but the curve is shifted upward by Core mods, the museum streak, and the T-Rex Maw shovel passive. Luck still matters, but players with full curve bonuses report roughly one Legendary every 80 swings on a high-tier island, compared to one every 200 swings with a stock shovel.
Do I need all prehistoric farm shovel upgrades filled to clear the museum?
You do not need every upgrade, but you need at least one shovel with two Core mods and a +3 polish level to clear the Rare-tier sets efficiently. The museum can be completed with weaker tools, but it will take roughly twice as many digs and significantly more storage management.
Should I sell prehistoric farm common fossils or hoard them?
Sell Commons once your storage hits 80 percent capacity, because they clog space and the coin return is more useful than the marginal donation bonus. The exception is during the first two hours, when you should hoard them to fund your first real shovel craft.
Can two players share fragment drops in co-op?
Yes, and co-op is the fastest way to clear the museum because each player rolls independently on the rarity curve. A two-player team with matched T-Rex Maws will see roughly 1.7x the Legendary rate of a solo player, which is why most veteran players grind the late-game sets in pairs.